
The moors of north Northumberland may lack the picturesque fame of their Yorkshire cousins, but a little effort reveals a fine walk through history, from prehistoric cairns and Iron Age fortresses, to a medieval tower and a 19th century farmhouse. Though there are no steep climbs, the pervasive thick heather across the open moorland makes progress slow and much of the route can be difficult to discern at times.
Distance: 10 miles
Time: 5 hours
The walk starts from the car park at Hepburn woods, near the Chillingham estate. Before setting off, take a moment to look back towards the road to see the ruins of the 14th-century Hepburn Bastle (sadly inaccessible behind a large wall). Bastles are a particular feature of the border country – fortified farmhouses built to provide protection against the marauding Reivers, bandits who raided from across the border.

Heading past the forestry commission information board on the opposite side of the car park, leave the track just after a gate across the path. A faint trail leads into the trees. Here I saw the first snow of this year – not bad for a mid-October afternoon. This path climbs steeply uphill, but aim for the rather high stile at the top and, once climbed, you will be rewarded with the sight of Hepburn Crags appearing ahead. Climbing the stile, keep the fence on you right and follow it to the right for a short distance before making the hardest climb of the day to reach the top of the crags. The path isn’t the clearest here, which is a sign of things to come, but the fine views across to the Cheviots will make your troubles worthwhile.

Leaving the crags, the path passes through the earthworks of an Iron Age fort. From there head to the corner of woodland on the right. There isn’t much path to speak of, but a fence at the edge of the trees provides a constant guide through the knee-high bracken as you press onward.
As the ground in front rises, the path sweeps off to the left to avoid the steep climb. Follow it, and soon the fence reappears again to mark your way. After the path leaves the fence once more, you’ll soon come to a junction – take the fork to the right. Rejoining the fence yet again, follow it until you reach another blocking your path – a large pile of stones should be visible on the hill to your left. Continue along this new fence towards the stones until you reached a gate – although when I visited only the gateposts remained. Passing through, head southeast across the heather – although it isn’t obvious, you’ll soon meet a clearer path hidden in a rut. This track disappears intermittently – If, like me, you manage to lose it, aim to the right of the ruined farmhouse up ahead, then towards a large pile of stones roughly to the southwest. This is actually the remains of a Bronze Age burial cairn.

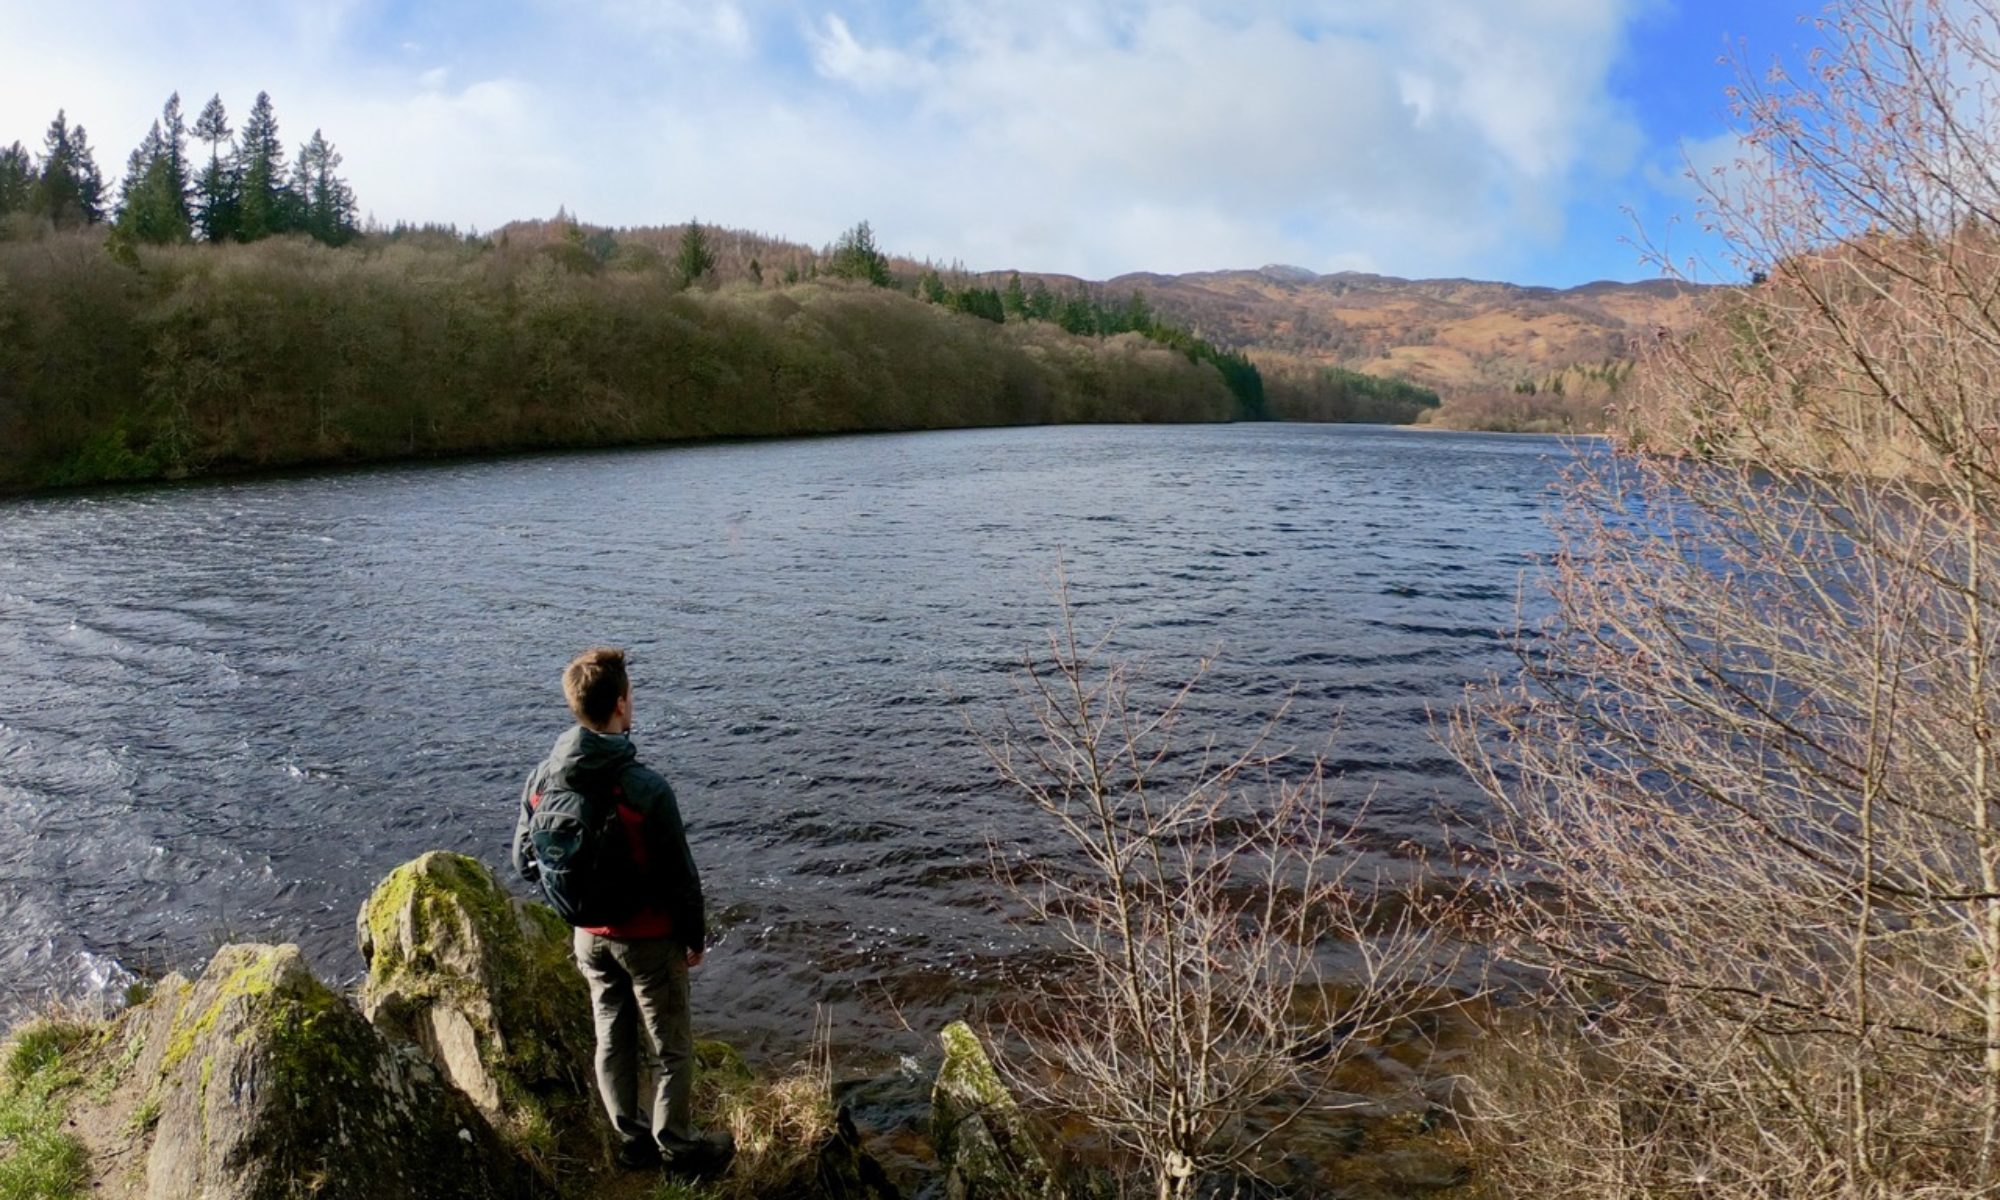
A short distance beyond the cairn runs a broad track. By now it was lunchtime, so I followed it to the aforementioned ruins at Blawearie. With a touch of mist and the light of a full moon, this 19thcentury farmhouse wouldn’t look out of place in a Gothic horror novel. Today, though, it was basking in the sunlight and provided some much-needed protection from the wind.

After lunch, I headed back towards the cairn to continue my walk. Roughly halfway between the ruin and the cairn, the track splits in two – a fainter path heads southwest across the heather, and a more solid track heads southeast. Take the latter, and at a junction take the right fork. Head past the none-too-obvious earthworks of another hill fort on your left, and head right at any forks, and you’ll soon find myself following the course of the Stock Brook as it runs its way through the ravine below. The path descends gently here, arriving at some boggy ground with boards across the wettest areas. After passing through a gate, a firm track passes an old stone pillbox, built to defend the area during the Second World War. The path becomes less distinct shortly after this, but continue along the field edge towards Harehope farm.

After the first set of farm buildings, the path heads to the left, through a gate and across a small field, then through a second gate. It then continues towards a small wooden bridge over the Harehope burn. Cross this and pass through the gate, then follow the broad stony track uphill to your left. At a fork, a grassy path heads uphill away from the main track, leading to the right of a large plantation of conifer trees. From here meet the nearby fence that leads through the heather across Eglingham Moor, eventually reaching a broad stone track.
Following the signpost marked Quarry House, cross a cattle grid before leaving the track and following the grassy path north across the boggy moorland. Ahead to the right is another plantation; past this it reaches a gate in a fence. Rather than following the arrowed route pointing northeast, follow the fence westward until you reached another gate, then climb to the summit of Cateran Hill.

This is the highest point on Bewick Moor – although at only 267m, it lacks the impressive views from the crags climbed at the start of the day. Instead the seemingly endless expanse of heather spreads out before you.

Here, unfortunately, the weather changed – the October sun turned to sleety rain, and biting winds prevented me from my planned detour into the heather to locate the Cateran Hole, a small cave on the hillside. From the summit cairn, follow the path as it heads downhill until it meets a path signed left for Blawearie. In this weather I was feeling rather “weary” indeed! Head instead to the right, and after a short distance the track arrives at the road. Turn left, and follow this across Hepburn Moor and past Ros Castle, yet another Iron Age hillfort. Eventually the ruin of Hepburn bastle can be seen again, signalling your safe return and the end of the walk for today.
Update 27th April 2019: I returned to Bewick Moor in search of the Cateran Hole and this time it didn’t escape me. Find out more about this mysterious cave by reading my walk from nearby Eglingham: The Cateran Hole.